
KineticRise — Universal Kajabi Sales Page
This illustrated guide covers installation, global branding, every editable section, safe Kajabi customization, and troubleshooting. The fitness content is a demo only—the same structure can be adapted for coaching, courses, memberships, services, communities, and digital products.
1. Install the page
- 1Download KineticRise-Kajabi-Upload-FINAL-V2.zip from your Ojas Creative account.
- 2In Kajabi, open Website > Pages and choose New Landing Page.
- 3Use Upload Template or Upload Theme and select the ZIP without extracting it.
- 4Wait for Kajabi to process the file, then open the new page in the visual editor.
- 5Add your checkout, form, offer, and navigation links before publishing.
Kajabi editor section list after installation:
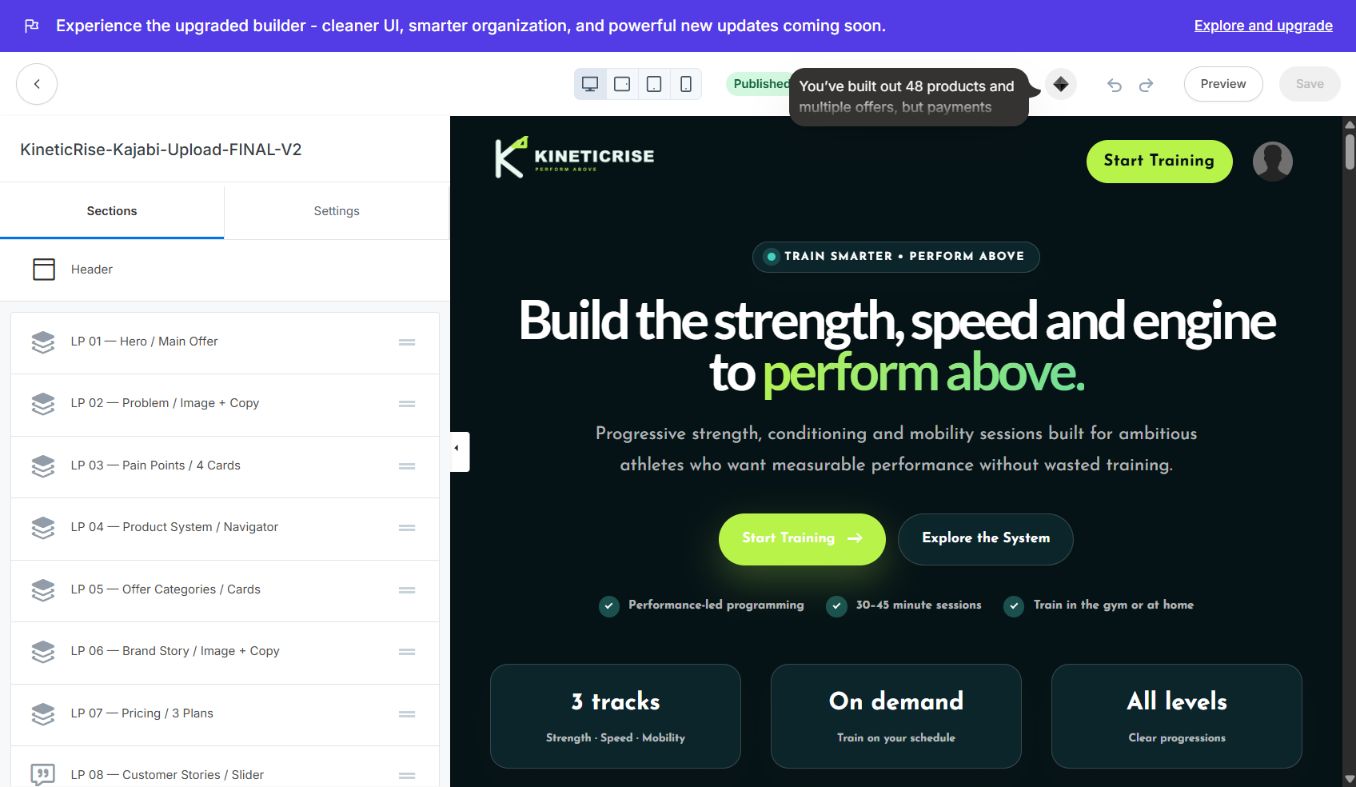
Keep the original ZIP unchanged as your clean backup. Duplicate the Kajabi page before major edits.
2. Global colors and spacing
Open Page Settings or Style Guide first. Set the background, surface, primary text, muted text, accent, button, border, and focus colors once before editing individual sections. KineticRise uses a dark foundation with a bright accent, but every color can be replaced from Kajabi settings.
Kajabi Style Guide and global palette:
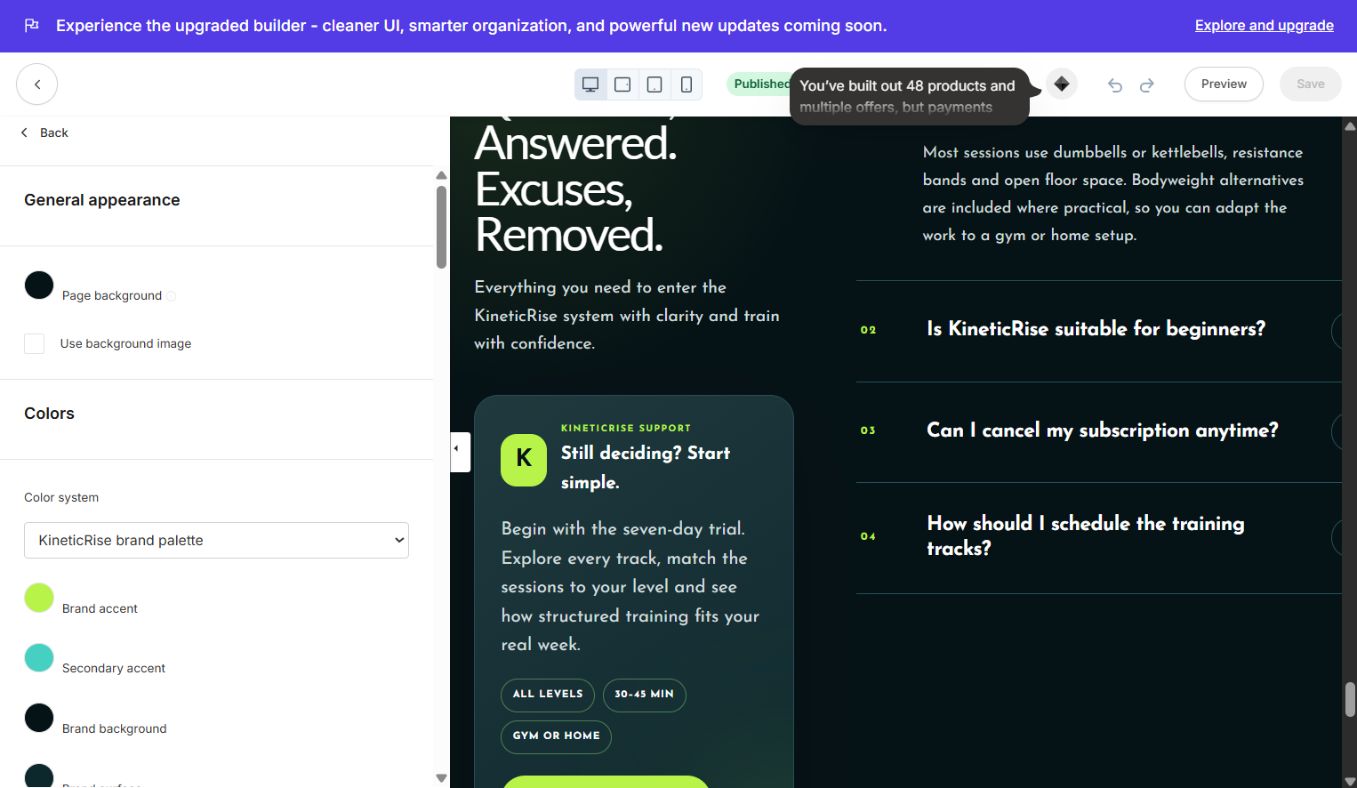
Use one accent consistently for buttons, labels, active states, slider arrows, and FAQ icons. Check text contrast after each palette change. Start with 72–96 px vertical padding on desktop and 44–64 px on mobile. If the page feels too open, reduce section padding instead of adding negative margins.
LP 01 — Stats & Floating Cards Hero
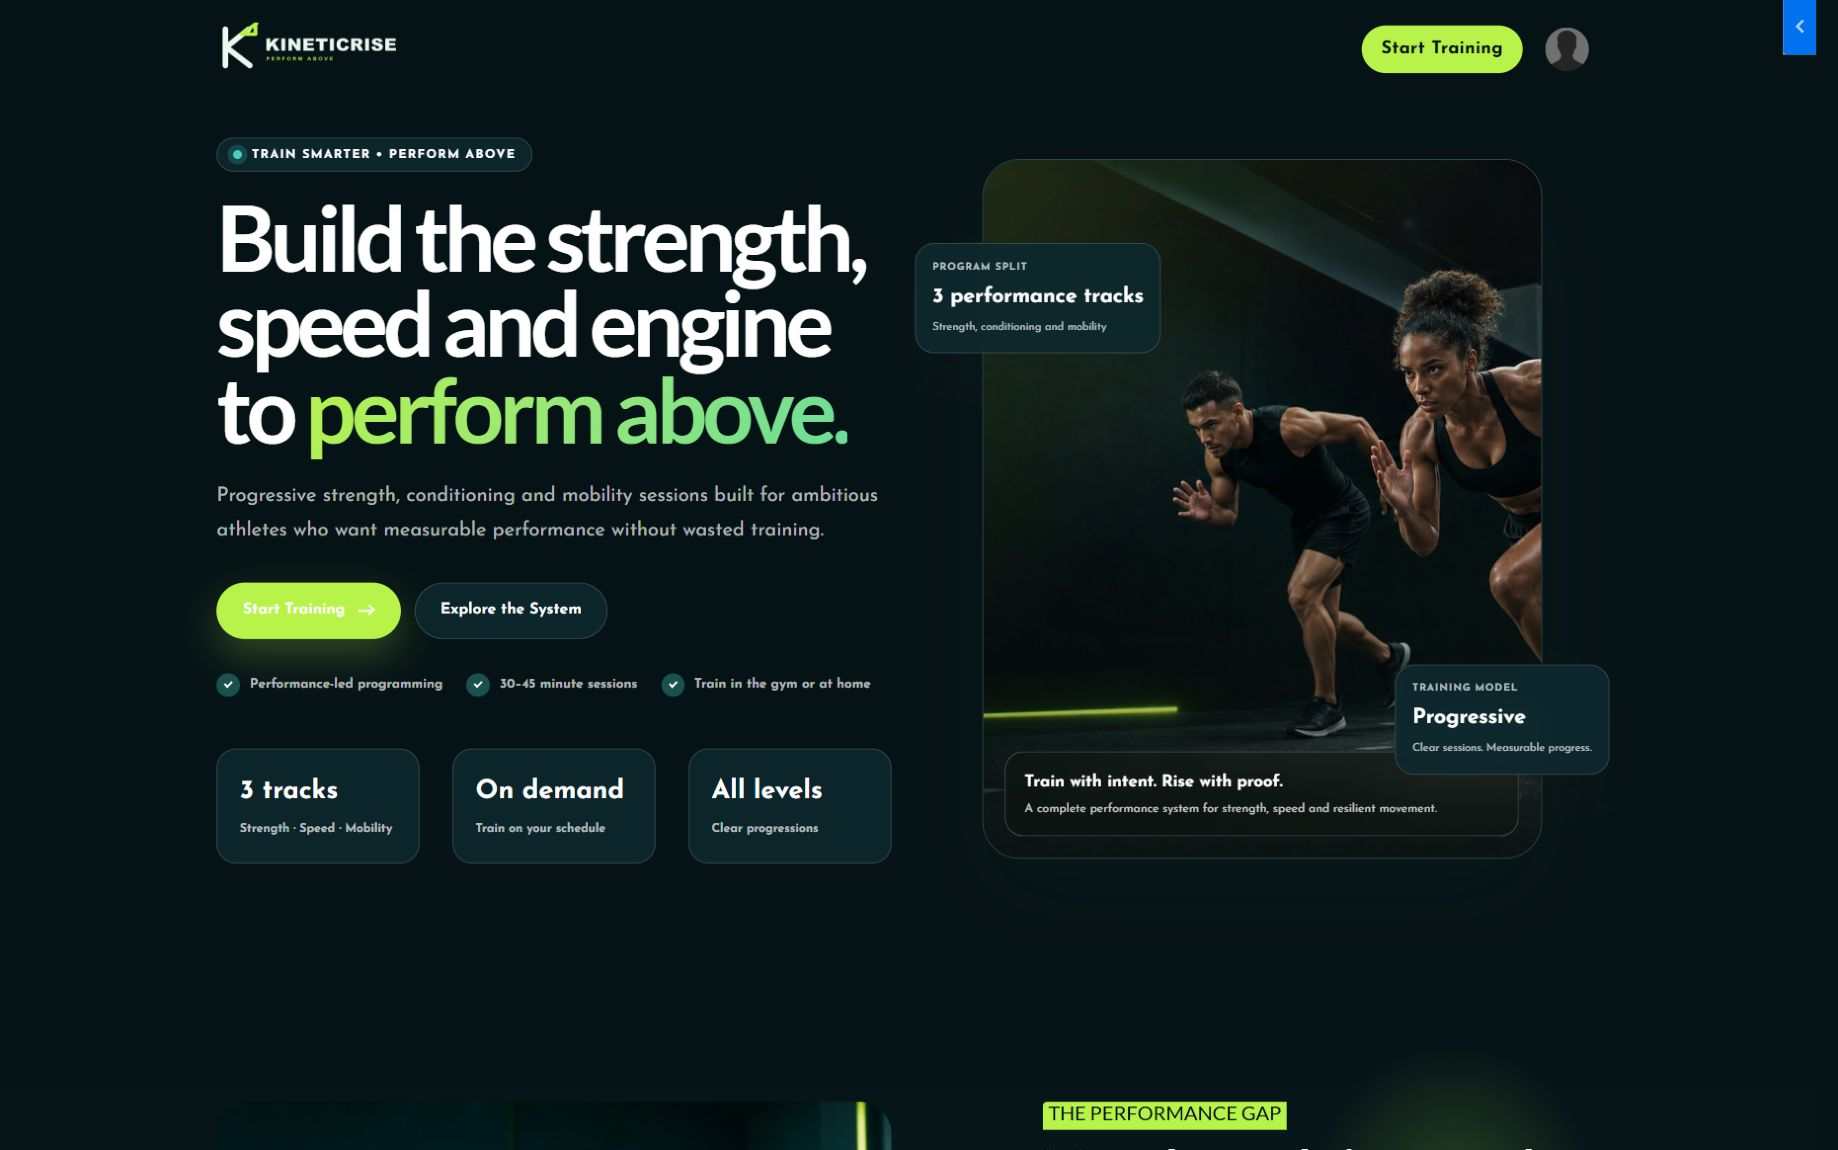
Edit the headline, support copy, CTA buttons, trust points, statistics, hero image, card labels, links, alignment, and mobile stacking. This is the first conversion section and should communicate one clear promise.
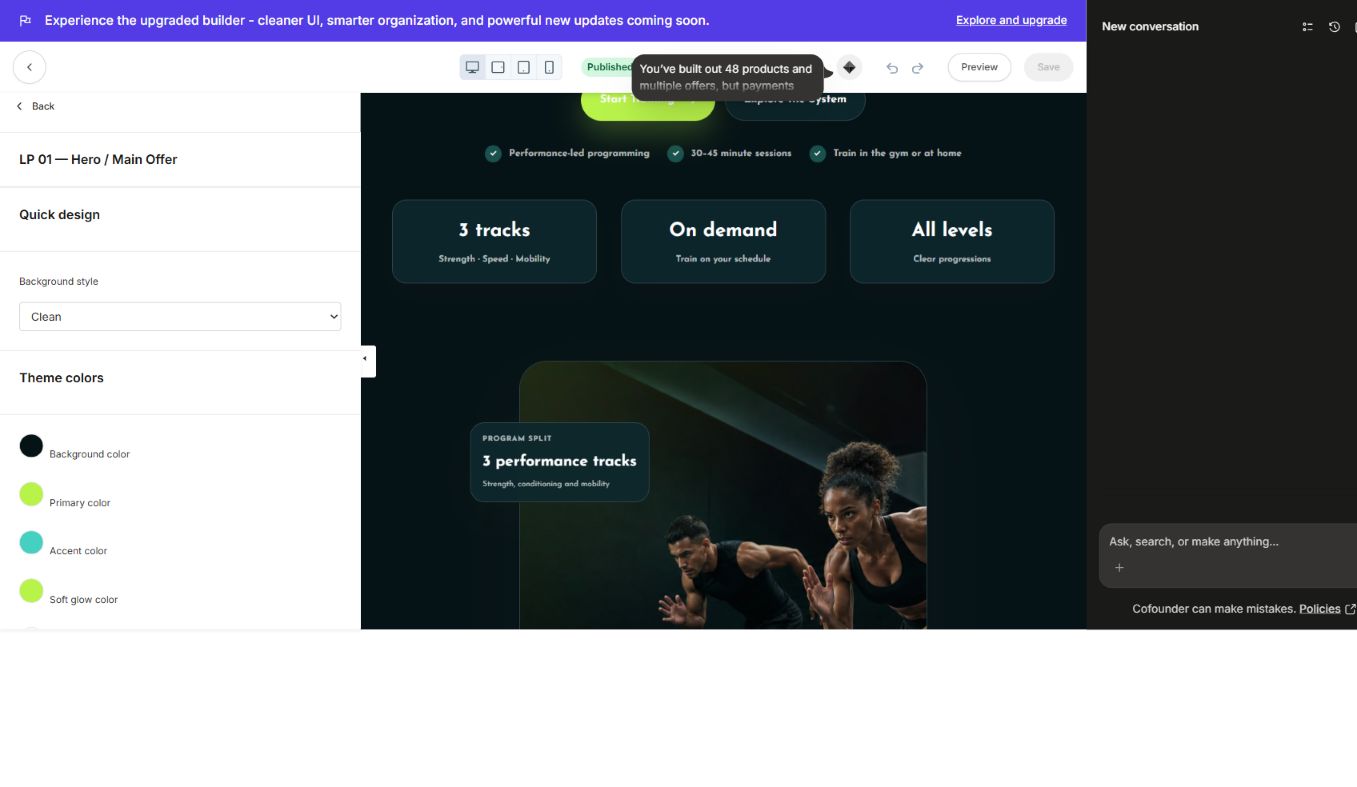
LP 01 section settings in Kajabi:
LP 02 — Interactive Image & Content Split
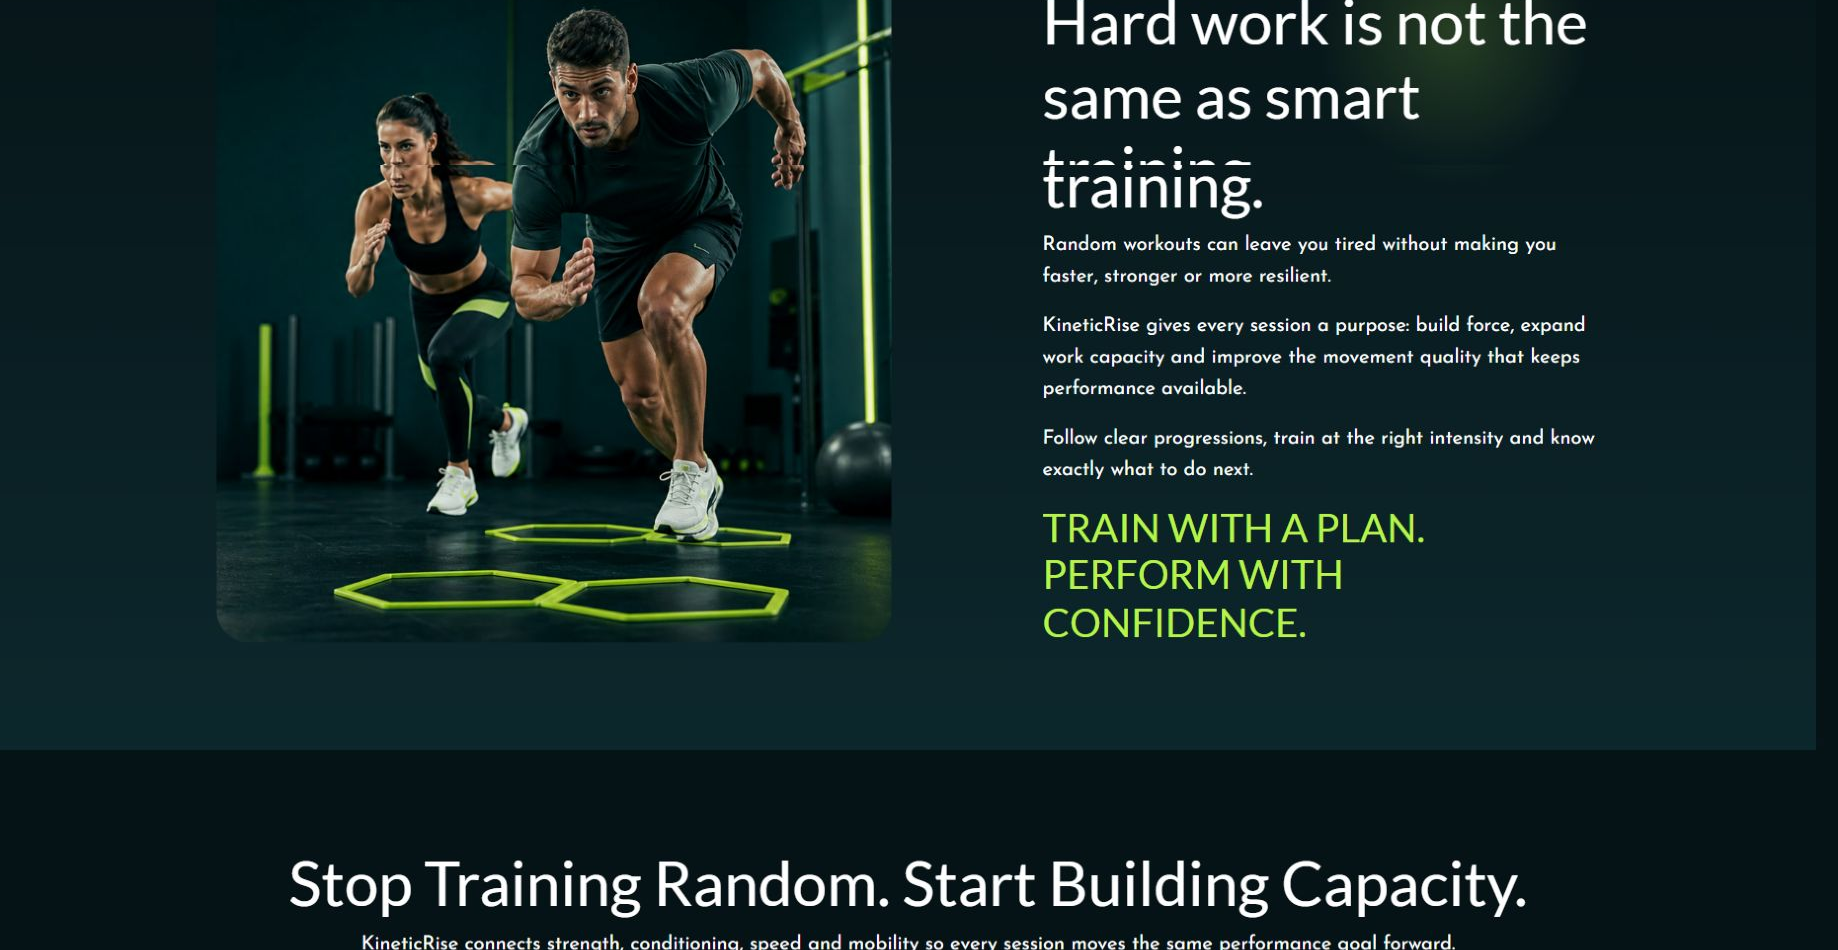
Edit the image, eyebrow, heading, paragraphs, highlighted closing line, image crop, overlay strength, column ratio, and mobile order. Use it to explain the transformation or brand point of view.
LP 03 — Problem Cards Grid
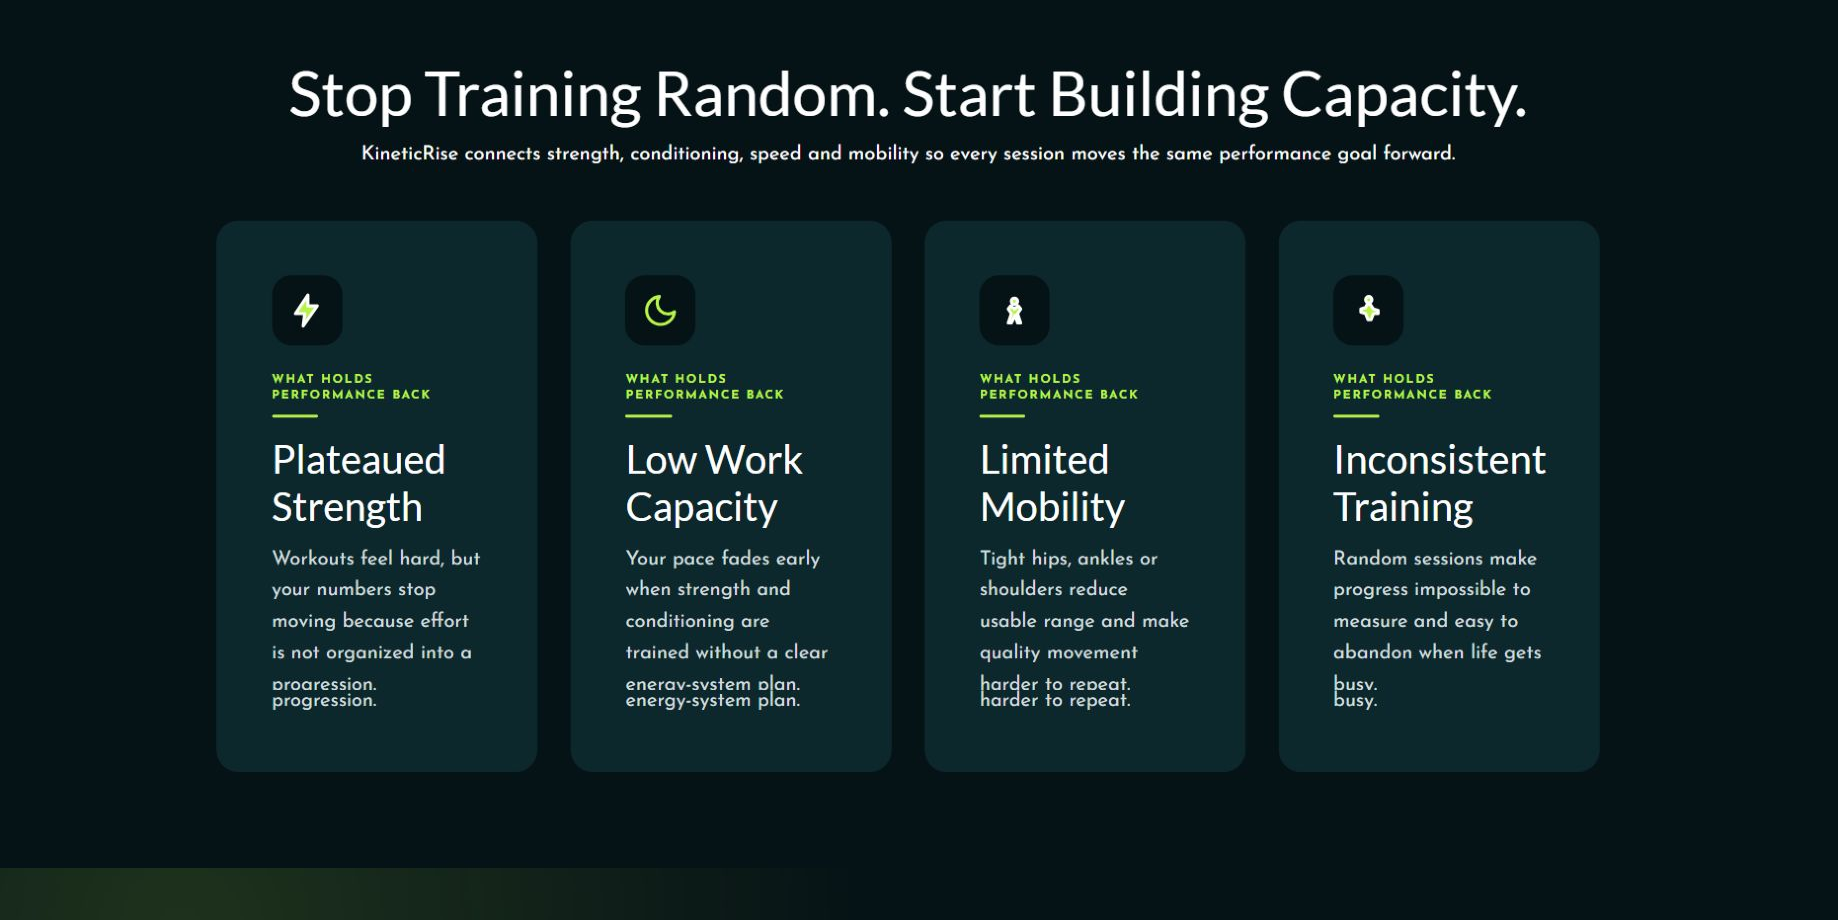
Each Kajabi block controls one pain-point card. Edit the icon, label, title, copy, card color, and order. Add or remove blocks from the section sidebar.
LP 04 — Cinematic Program Navigator
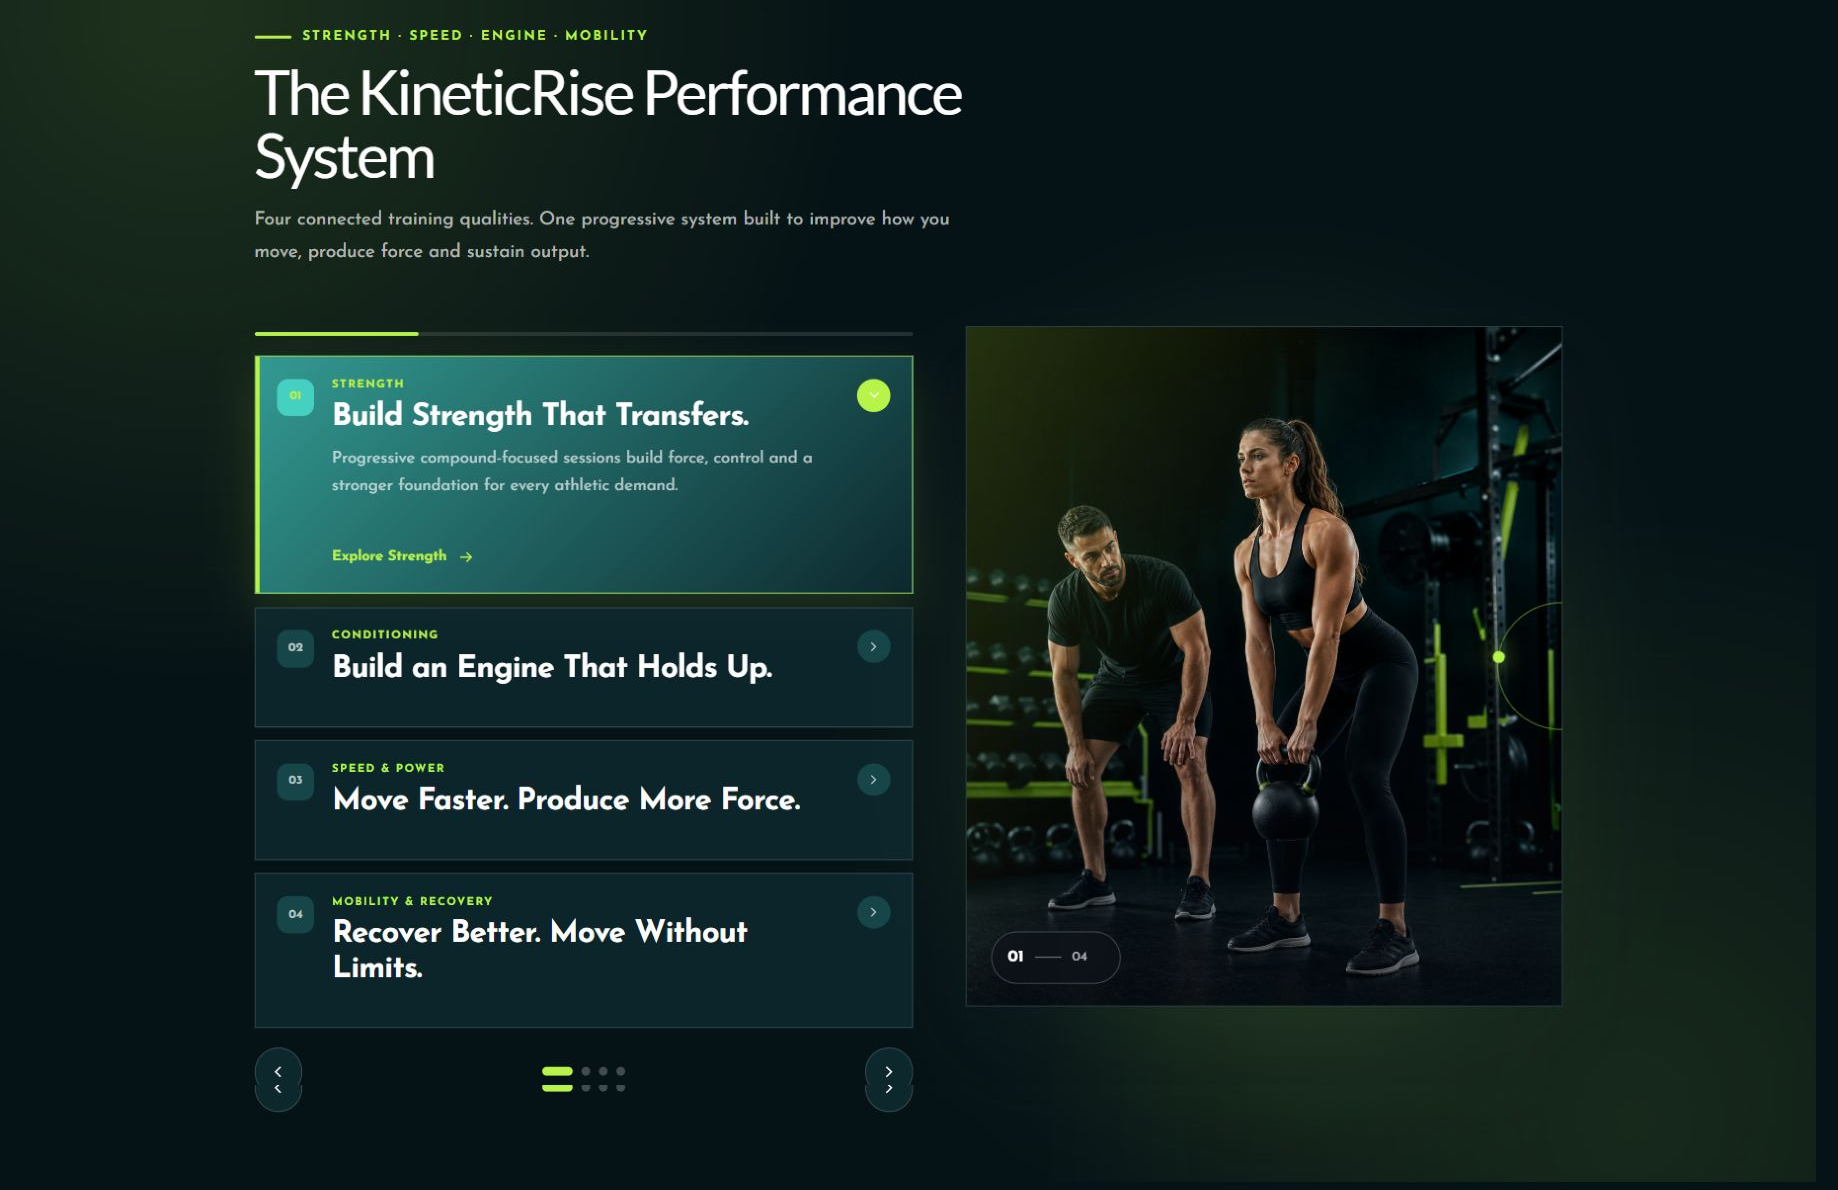
Edit the program steps as blocks, supporting visual, active state, motion settings, labels, and links. Keep step titles short so the navigator stays balanced on mobile.
LP 05 — Offer / Performance Track Cards
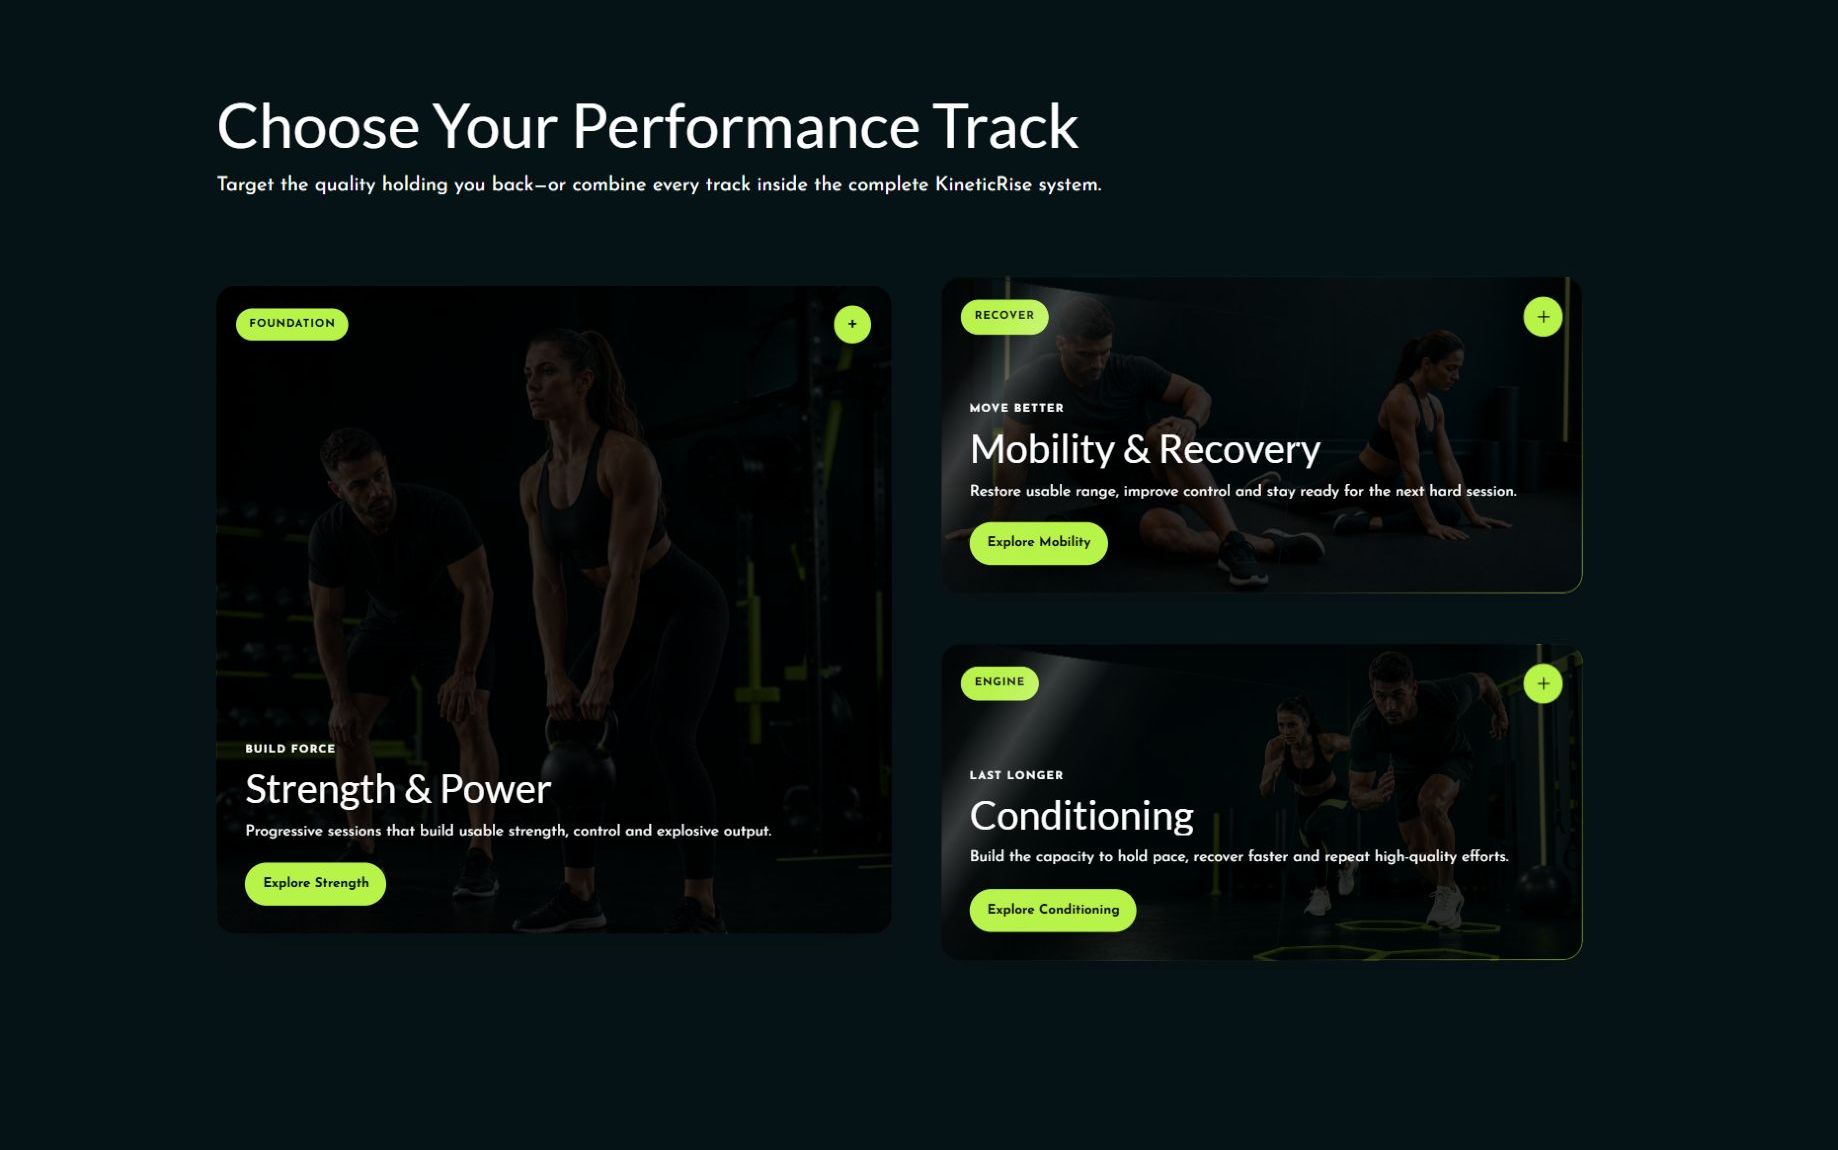
Each block is one offer or track. Edit the image, category, title, description, CTA, link, featured state, and card color. This section works for services, course tiers, product categories, or membership paths.
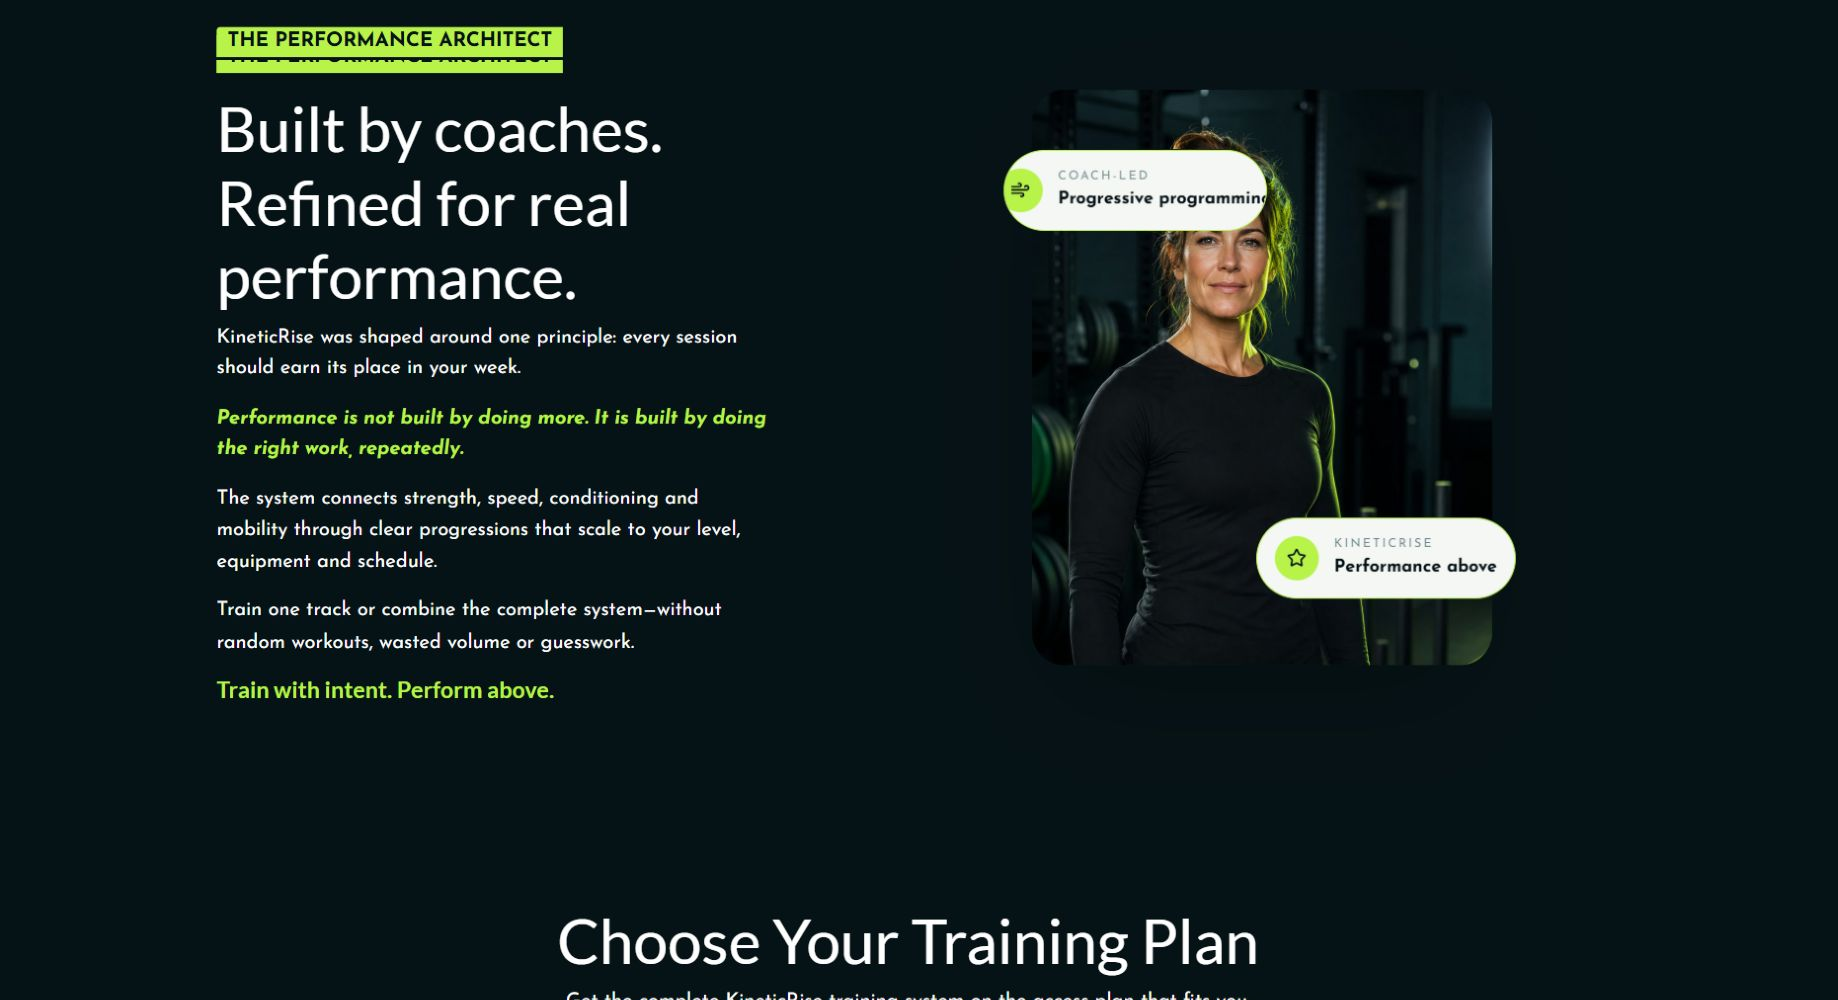
LP 06 — Brand Story & Creator Spotlight
Edit the portrait, title, bio, quote, credentials, badges, supporting copy, and mobile image position. Replace the fitness coach story with your founder, instructor, company, or methodology.
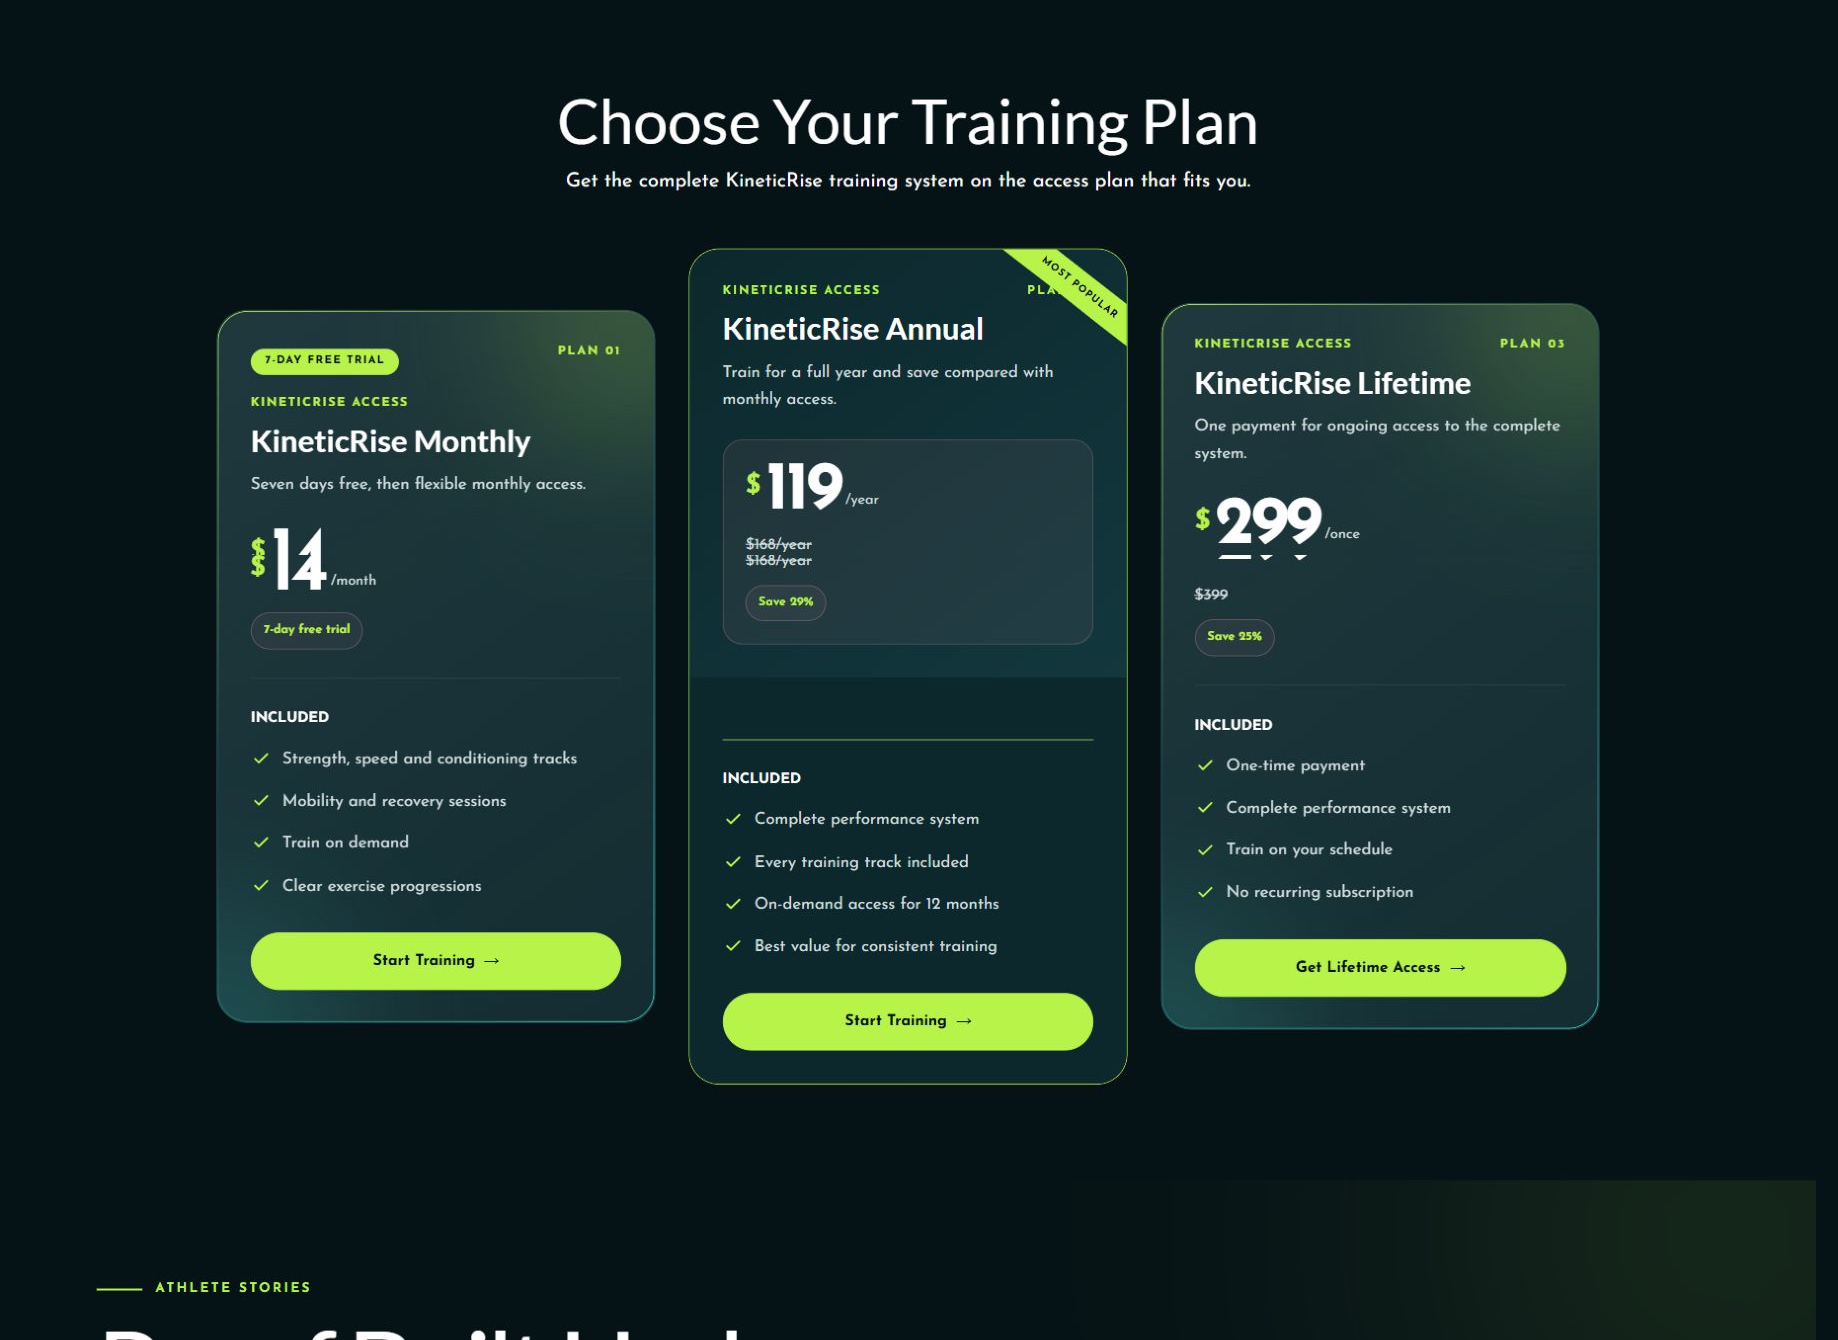
LP 07 — Pricing & Plan Comparison
Each block controls a plan. Edit plan name, price, billing note, features, CTA, checkout URL, trial copy, badge, and highlighted plan. Confirm every button points to the correct Kajabi Offer.
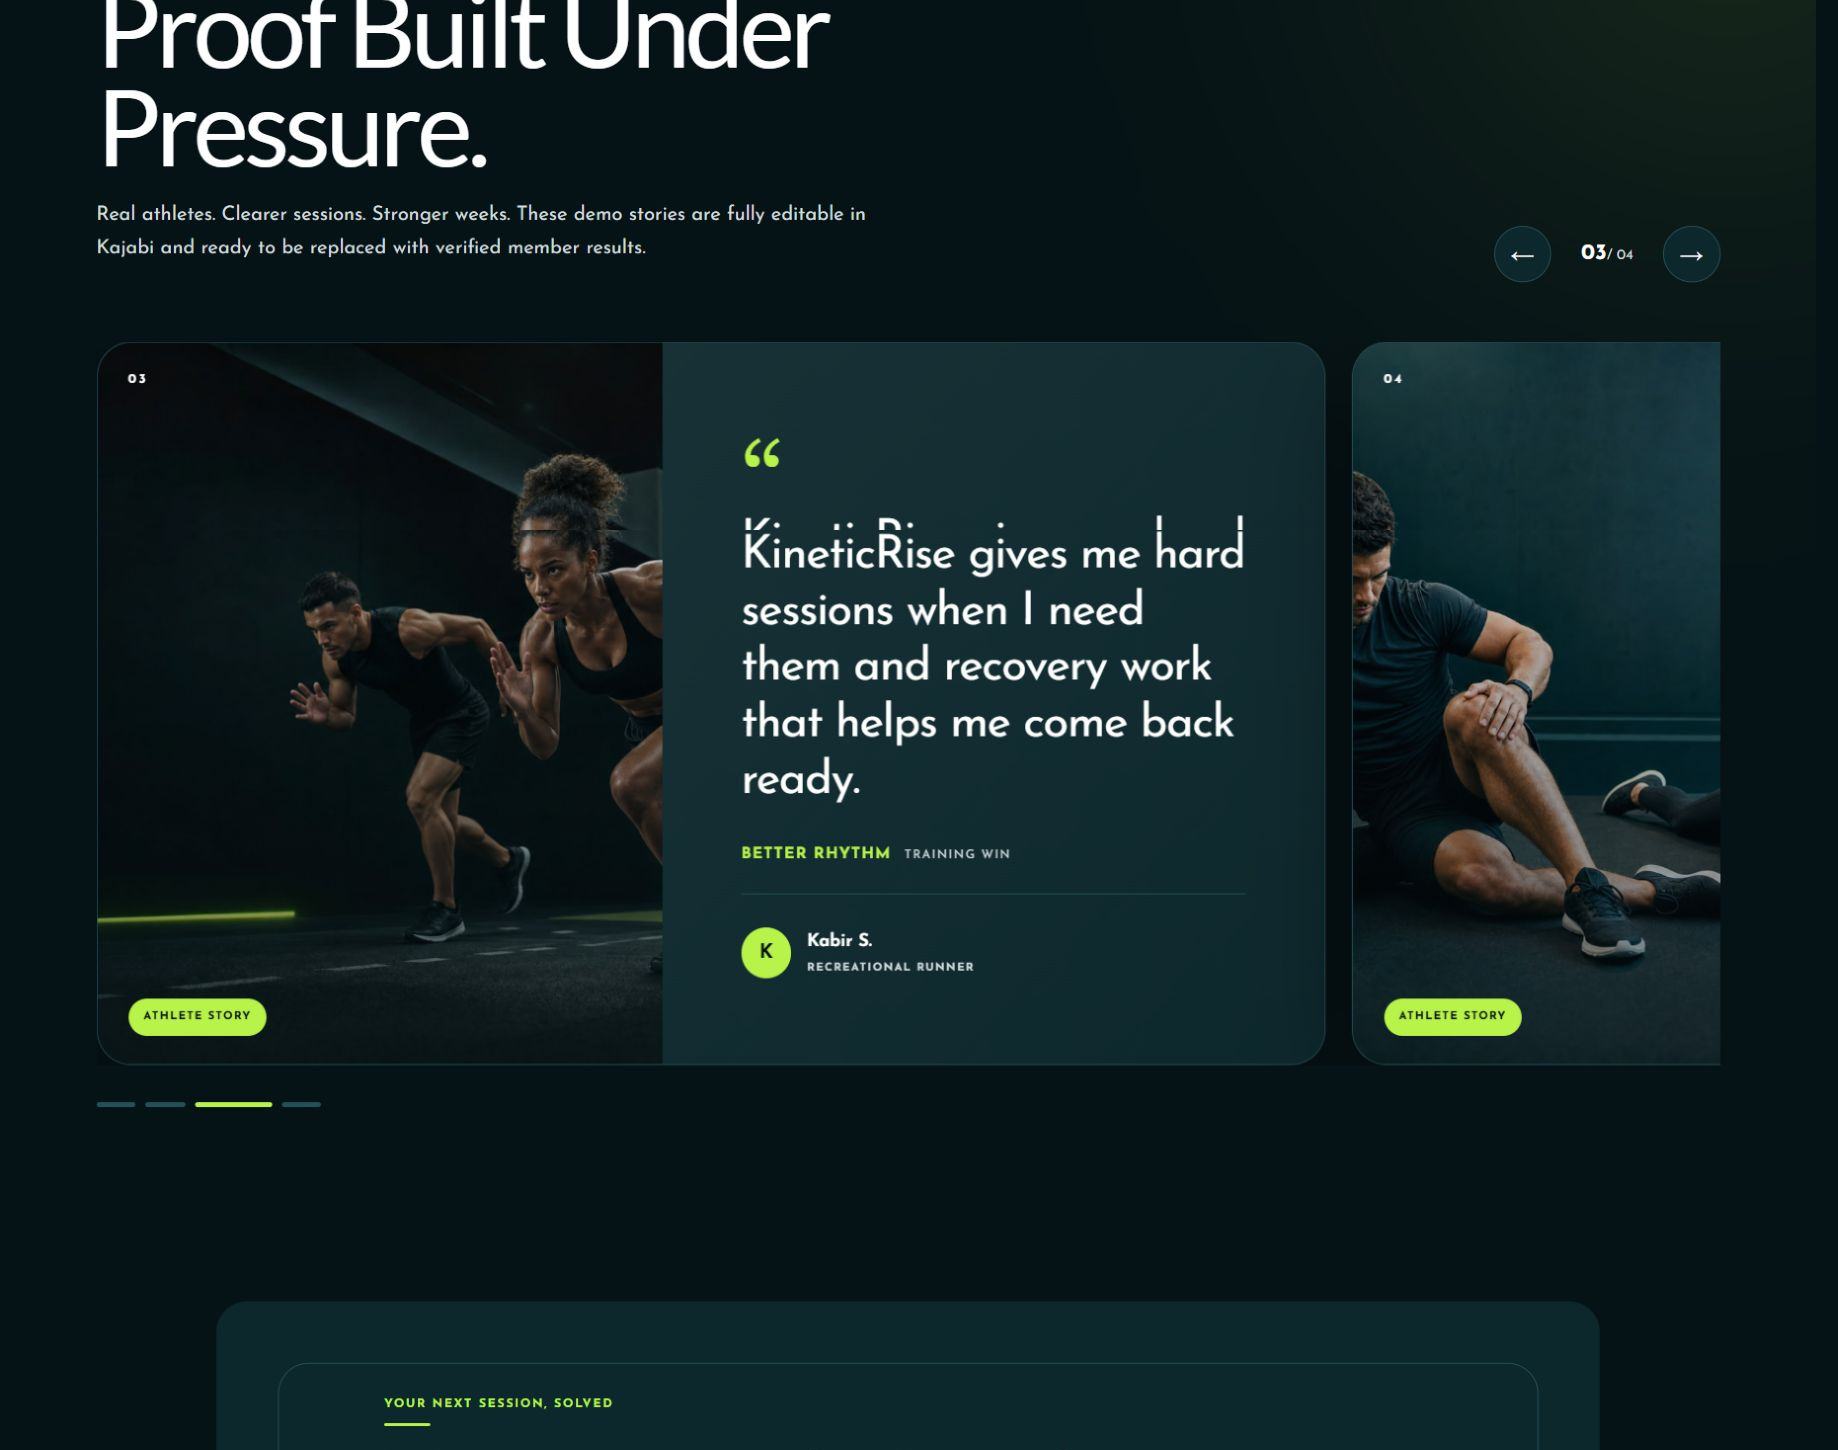
LP 08 — Customer Stories Slider
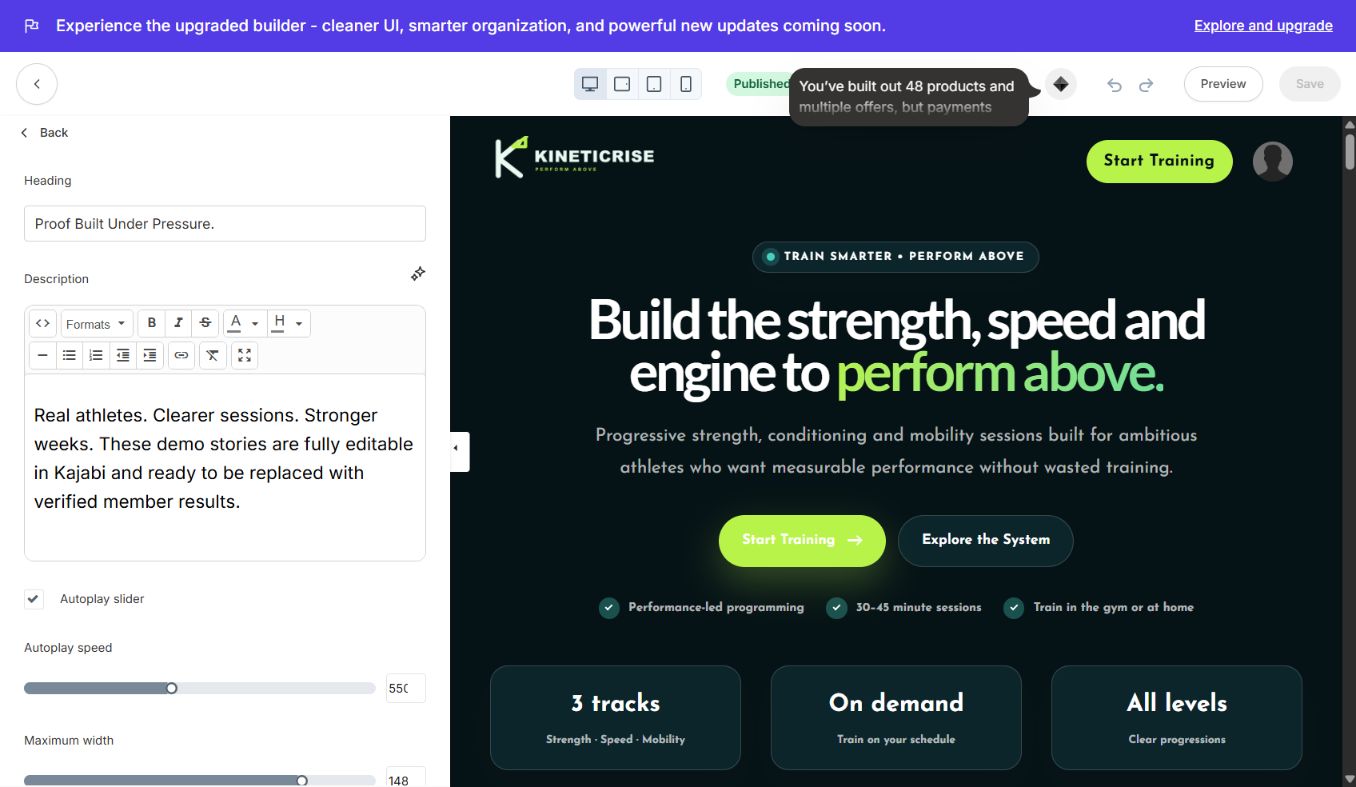
Each testimonial is a Kajabi block. Edit quote, customer name, role, result, rating, portrait, and proof tag. Slider arrows, dots, autoplay, timing, and card colors are section settings.
Kajabi testimonial blocks and slider settings:
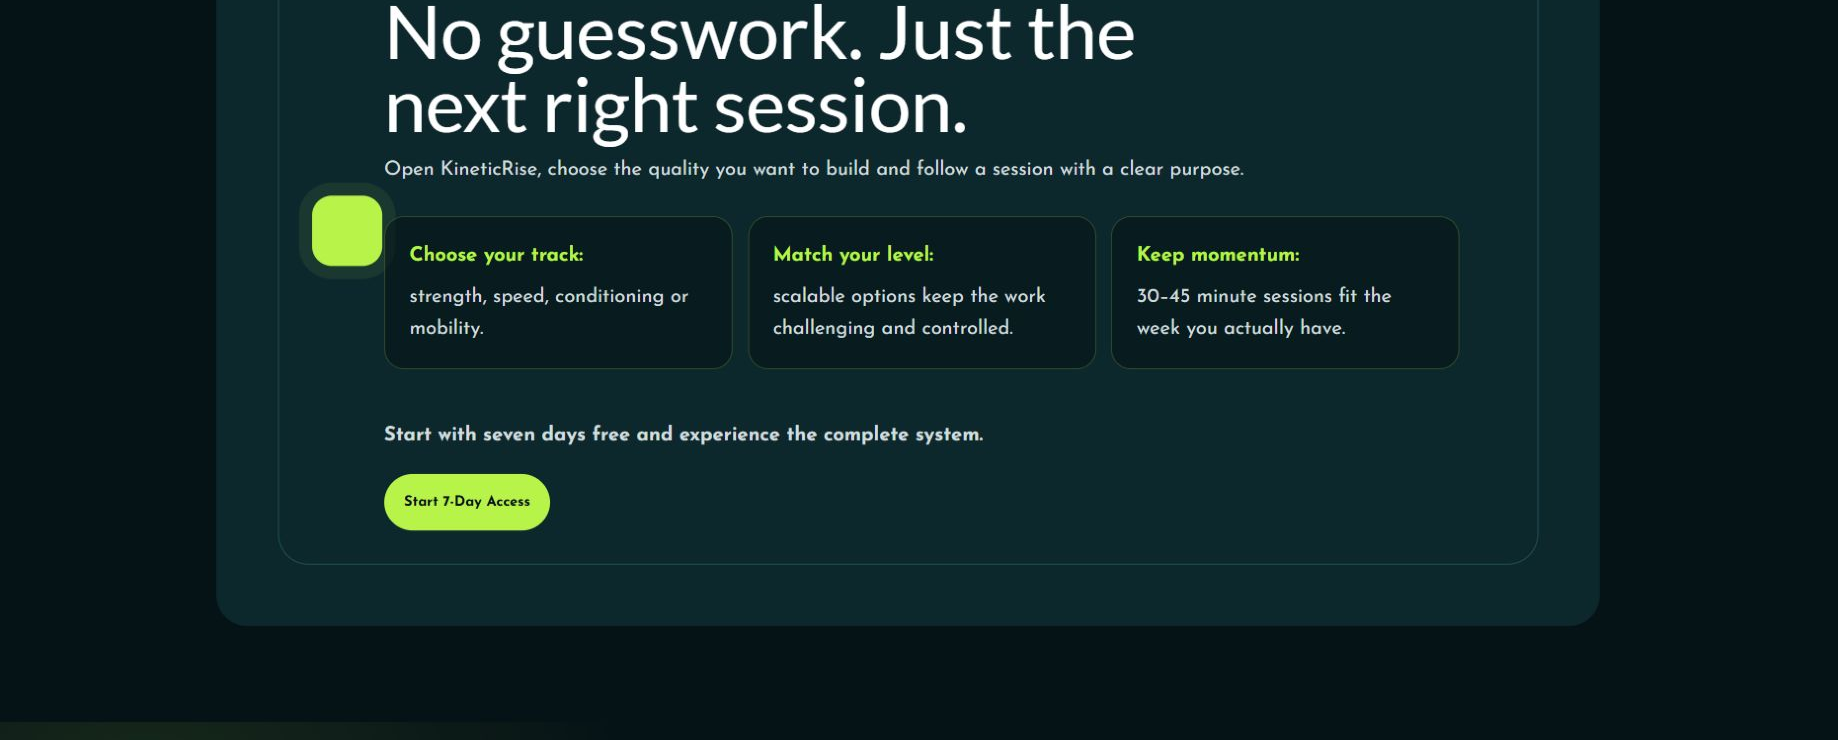
LP 09 — Benefits / Included Grid + CTA
Edit benefit cards as blocks and the closing CTA from section settings. Useful for deliverables, bonuses, outcomes, resources, or what is included.
LP 10 — Questions / FAQ Accordion
Each FAQ is one Kajabi block with a question and answer. Section settings control the image, open-first behavior, accordion colors, icon color, spacing, and mobile order.
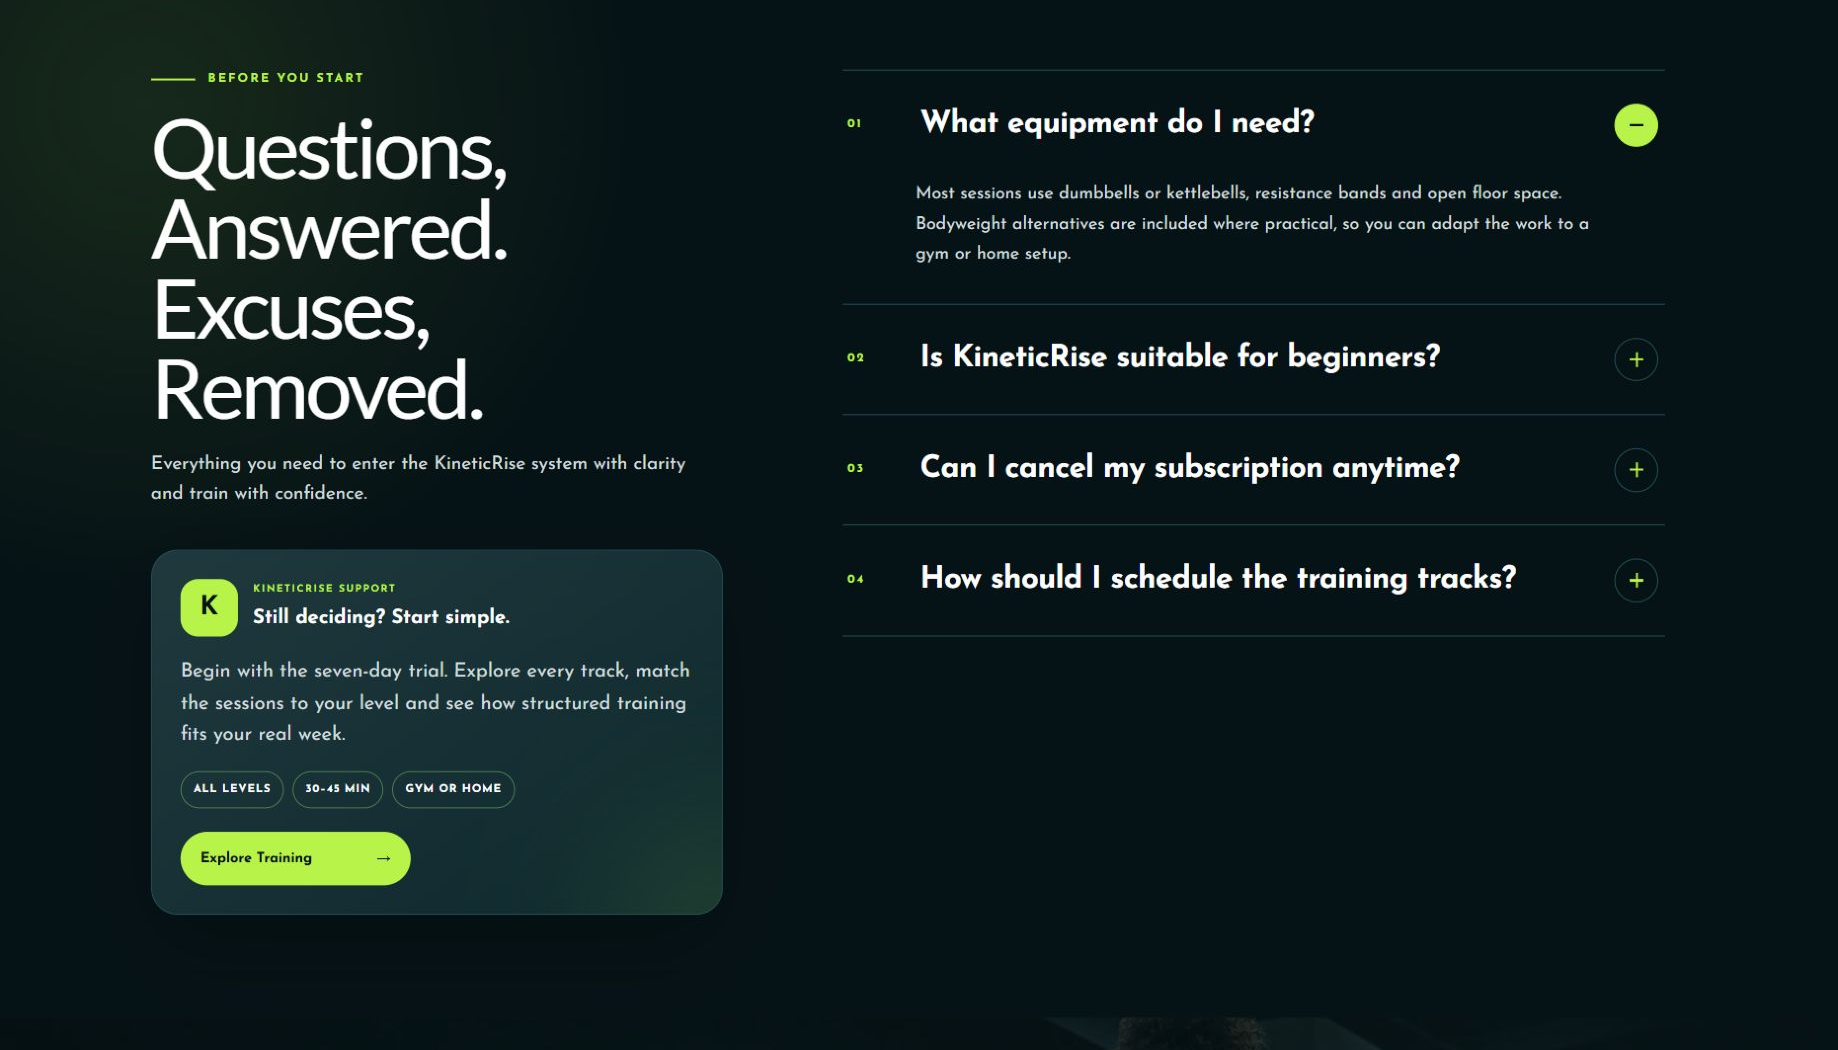
Kajabi FAQ blocks and accordion settings:
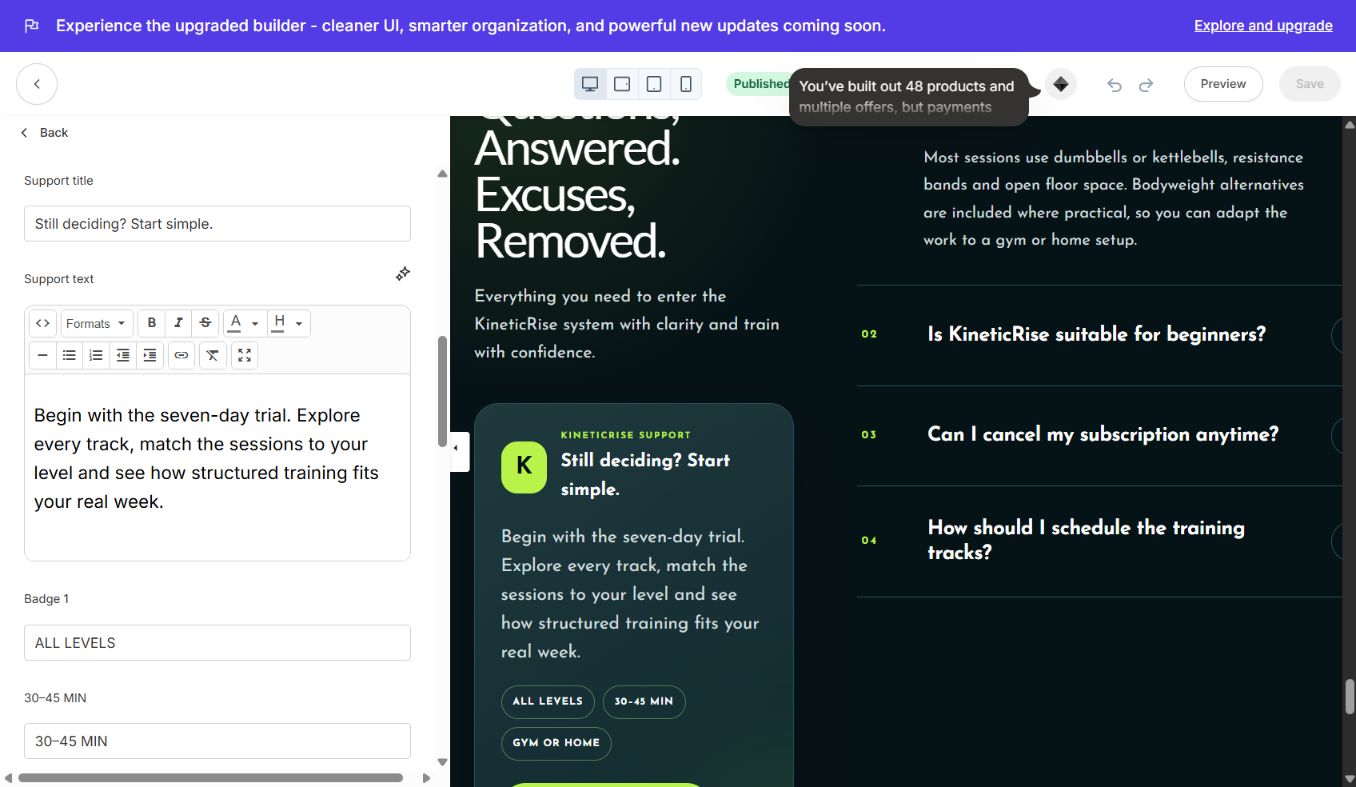
LP 11 — Closing CTA & Footer
Edit the final headline, support line, button text, button link, reassurance copy, logo, copyright, and footer links. Repeat the main offer instead of introducing a new message.

3. Add, duplicate, and reorder safely
Use Add Section in Kajabi and choose the section by its visual LP name. Add content inside repeatable sections with Add Block. Duplicate a block when you need identical styling, then replace its content. Reorder blocks and sections from the sidebar and always test the new order on mobile.
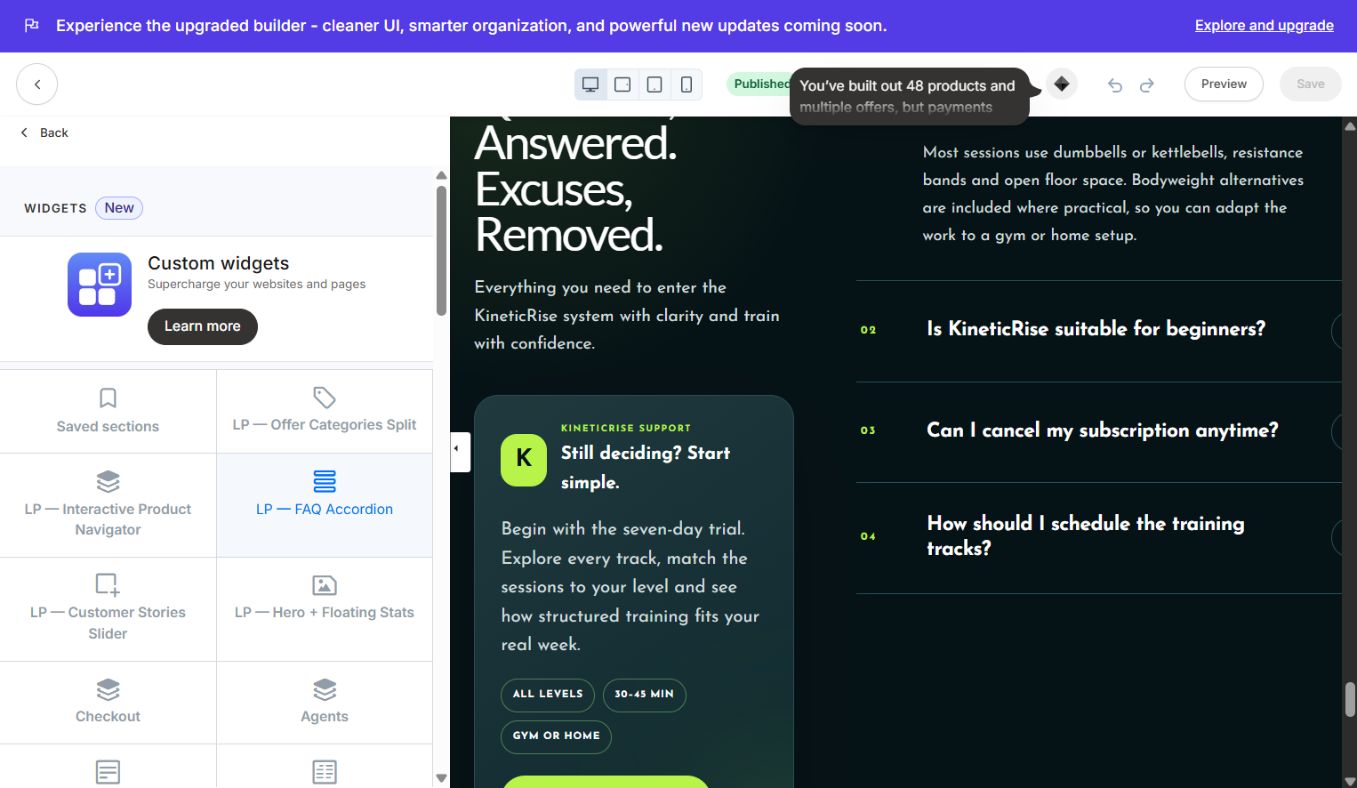
Every custom section and block includes Kajabi IDs: section.id for the section wrapper and block.id plus block.shopify_attributes on repeatable blocks. Do not remove these IDs when extending Liquid; Kajabi relies on them for editor targeting, reordering, and block selection.
4. Image settings
Upload images through Kajabi image settings so the URLs remain portable. Use WebP or optimized JPG, descriptive alt text, consistent crop ratios, and the built-in focal-position controls. Avoid local computer paths. Replace supplied demo images section by section.
5. Pre-launch checklist
- Test every CTA, checkout, form, menu, and legal link.
- Replace all demo copy, prices, testimonials, images, and brand details.
- Check 1440 px desktop, tablet, and 390 px mobile layouts.
- Verify testimonial controls and FAQ accordion behavior.
- Confirm button contrast, focus states, headings, and image alt text.
- Preview in an incognito window and complete a test purchase or form submission.
6. Troubleshooting
Blank page: confirm the final ZIP was uploaded without extracting or nesting it, then refresh the Kajabi editor.
Missing image: re-upload through the relevant image picker and verify the image setting is not blank.
Section not selectable: restore section.id or block.shopify_attributes.
Spacing too large: reduce section top and bottom padding for desktop and mobile.
Button not working: use a full HTTPS URL or select the Kajabi Offer/Page from the link setting.
Old colors remain: check both the global palette and any section-level override.
The complete illustrated 22-page DOCX manual is also supplied with the product.
Continue learning
Ready to build your CineFlow site?
Keep this guide open while you customize, and contact support if you get stuck.